


With Valentine’s Day on its way, its only natural us girls get heartbeats racing!
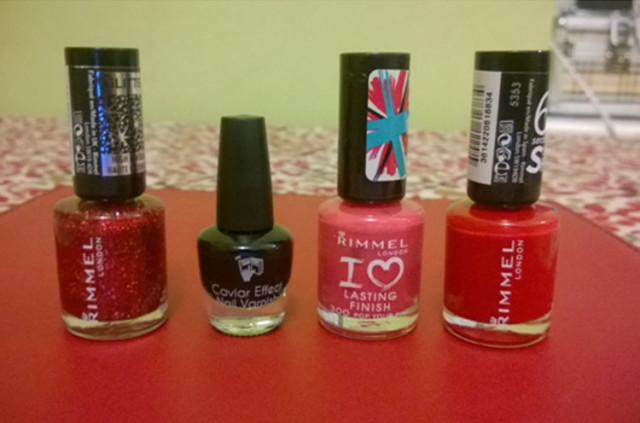
You will need:
3 coloured nail polishes – ideally red, glittery red, and pink (these can be changed depending on your choice)
A white nail art pen or polish
A black nail art pen or polish
If you don’t have a nail art pen, a tooth pick will work just as well!

Step 1
Before applying polish you must prep your nails. First start by filing your nails into your preferred shape, then push up your cuticles. After this apply a base coat, as this will stop your nails from getting stained and will allow the polish to last a lot longer.
Step 2
Once you’ve applied the base coat, apply 2 coats of the Pink – which will serve as the background colour for all your nails EXCEPT your ring fingers, the glittery red will be used for those. Do this by applying the first coat of pink on your nails and glittery red on your ring fingernail, let it dry and then apply the second coat, they should look like this: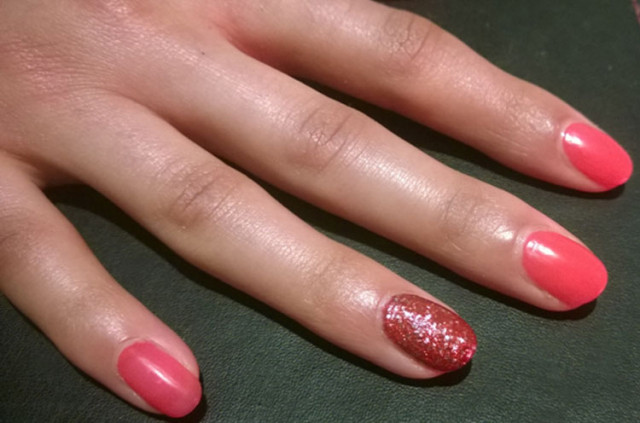
Step 3
Now time to do the hearts! Dip your toothpick into the red polish (there should only be a small amount on the tip) and dot down two small dots closely together on your nail: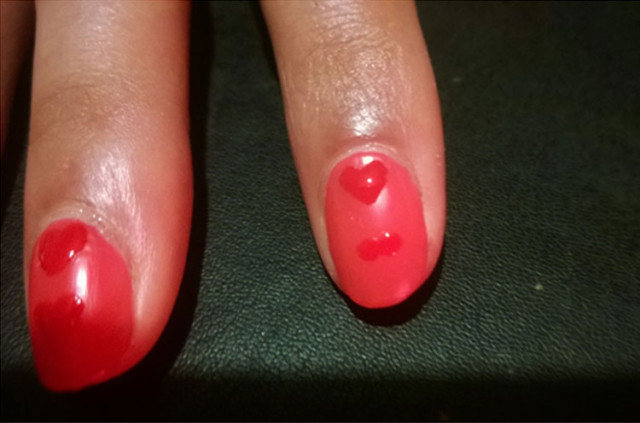
From these 2 points move down to create the tip or bottom of the heart. You should end up with this: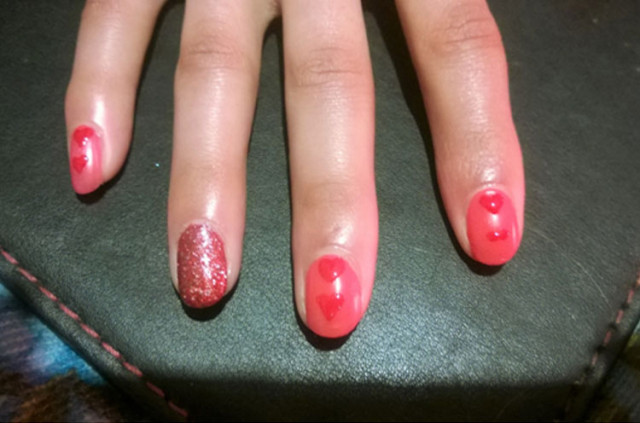
Step 4
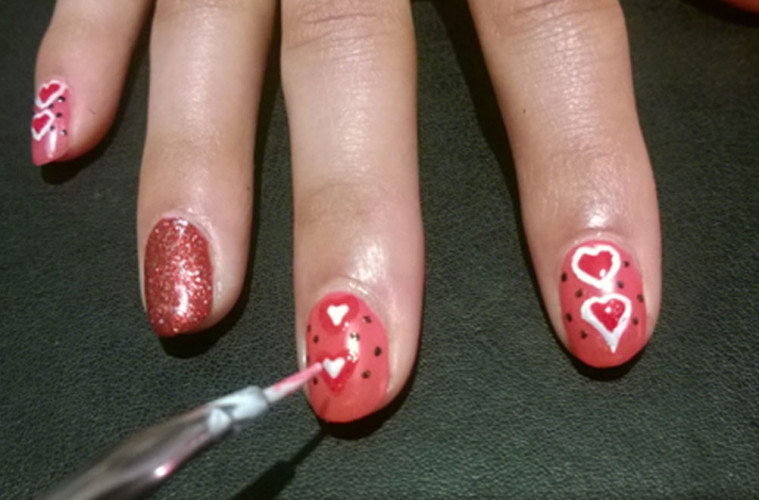
Now, it’s time to apply black dots around the hearts. Do this again by dipping your toothpick inside your black polish (there should only be a pea size amount on the tip of the toothpick), or by using your black nail art pen. Gently dot small zigzag dots around the hearts about ¾ down the nail (so don’t dot on the tips of your nails).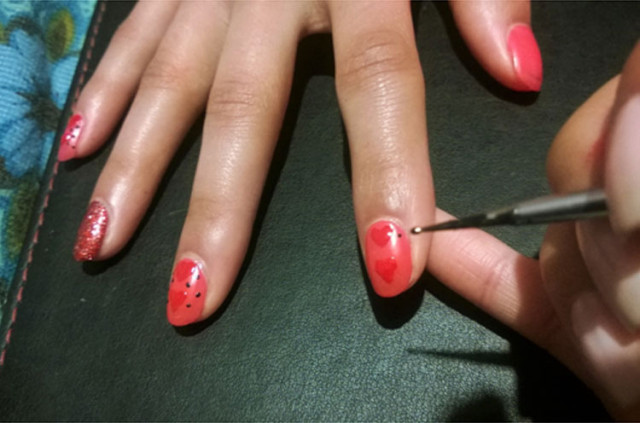
Step 5
Now we’re going to use white polish to outline and create smaller hearts. To outline the hearts, choose two fingernails and dip a small amount of white polish onto the tip of your toothpick again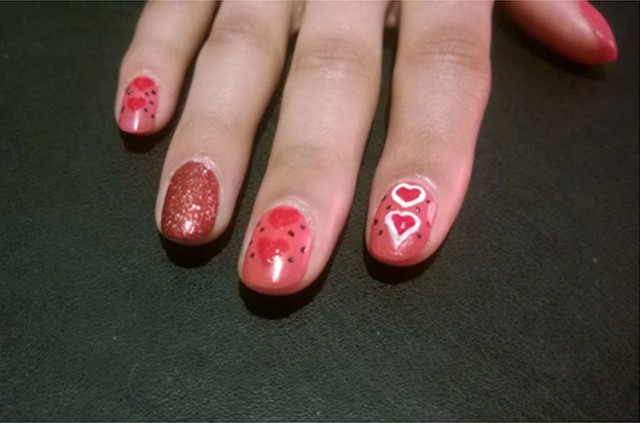
or by using your nail art pen. Carefully outline the outside of the hearts with small strokes.
To create smaller white hearts inside your red hearts, repeat the same step as when you created the red hearts, but this time using a tiny amount of white polish. Do this by creating two small white dots close together inside the red hearts and move down to create the tip: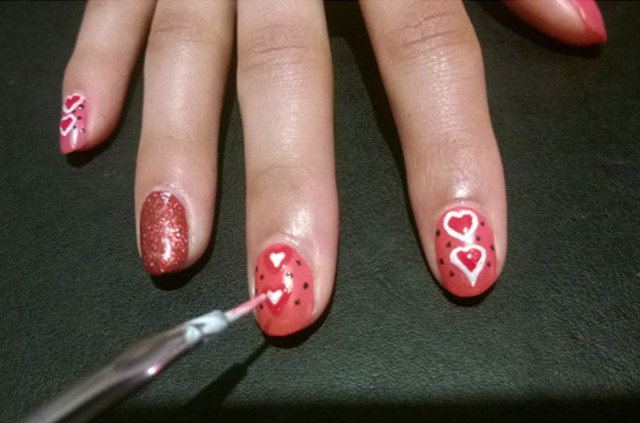
Step 6
Let your nails dry and then apply a clear top coat to seal in your polish, creating a longer lasting and glossy look.
And there you have it! Your very own Valentine’s Day inspired nails!
- Subscribe to The Student Pocket Guide for exclusive competitions, deals, discounts, tips and advice!
- Read The Student Pocket Guide.
